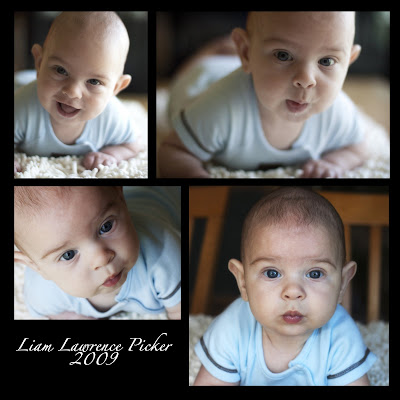
For my friends . . .
Step One:
Press Command-N (PC: Ctl-N) that will make a new document. Make it the size you want it.
Create a New Layer by clicking the icon at bottom of panel.
Get the Rectangular Marquee tool (M) Press and hold shift key to keep square.
Leave an equal amount of border around the square.
Press D to set your Foreground color to black the press Option - Delete ( PC: Alt-Backspace)
Step Two:
Press V to get move tool.
Press and hold Option Shift (PC: Alt-Shift) then click and drag yourself a copy.
Step Three:
Deselect by pressing Command-D (PC: Ctl-D)
Step Four:
Bring in photos as Smart Objects, go under File Menu and choose Place.
Choose photo you want to appear over square. When it appears on screen position it over square. Press and hold shift key and click and drag a corner handle to resize. Then Press the Return Key (PC: Enter) to lock your resizing.
Step Five:
Press Command-Option-G to mask your photo into the square. You can then move the photo using the move tool.
Step Six:
Repeat the last two steps to fill in your collage. (If when you are done any one of the photos that extends into a different box, just go to the layers panel and move that layer down one or two layers until that area is hidden behind on of the other masked photos.
Step Seven:
Click on the background in the layers panel, press the letter D to set your foreground color then press Option Delete (PC: Alt-Backspace)


